Buttermilk Brined Chicken: 7 Flavorful Tips for the Best Results
A Juicy Secret for Perfect Chicken Every Time
If you’ve ever struggled to achieve juicy, tender chicken that’s packed with flavor, it’s time to discover the magic of buttermilk brined chicken. This time-tested technique not only enhances the texture of your chicken but also infuses it with mouthwatering flavor. Whether you’re hosting a dinner party or whipping up a weeknight meal, mastering this method will take your cooking to the next level.
Table of Contents
Why Brining with Buttermilk Works Wonders
Buttermilk isn’t just for pancakes or biscuits—it’s a secret weapon for transforming your chicken. The science behind it is simple yet effective:
- Tenderizes the Meat: Buttermilk’s lactic acid gently breaks down proteins, making the chicken more tender.
- Deep Flavor Infusion: The buttermilk acts as a carrier for seasonings, ensuring every bite is packed with flavor.
- Crispy Skin Guarantee: When cooked, the sugars and proteins in the buttermilk contribute to beautifully crispy, golden skin.
By using this technique, you’re setting yourself up for chicken that’s not only delicious but also a joy to cook.
7 Flavorful Tips for the Best Buttermilk Brined Chicken
1. Start with the Right Ingredients
The foundation of any great dish is quality ingredients. For buttermilk brined chicken, you’ll need:
- Chicken: Opt for bone-in cuts like thighs, drumsticks, or breasts for the juiciest results.
- Buttermilk: Full-fat buttermilk is ideal, but low-fat can work in a pinch.
- Seasonings: Think salt, pepper, minced garlic, and your favorite fresh herbs.
Ingredient Table:
| Ingredient | Quantity |
|---|---|
| Chicken | 4-6 pieces |
| Buttermilk | 2 cups |
| Salt | 2 tablespoons |
| Garlic (minced) | 3 cloves |
| Fresh herbs (optional) | 1-2 sprigs |
High-quality ingredients set the stage for a dish that’s both flavorful and impressive.
2. How to Brine Chicken the Right Way
Brining with buttermilk is straightforward, but a few steps can make all the difference:
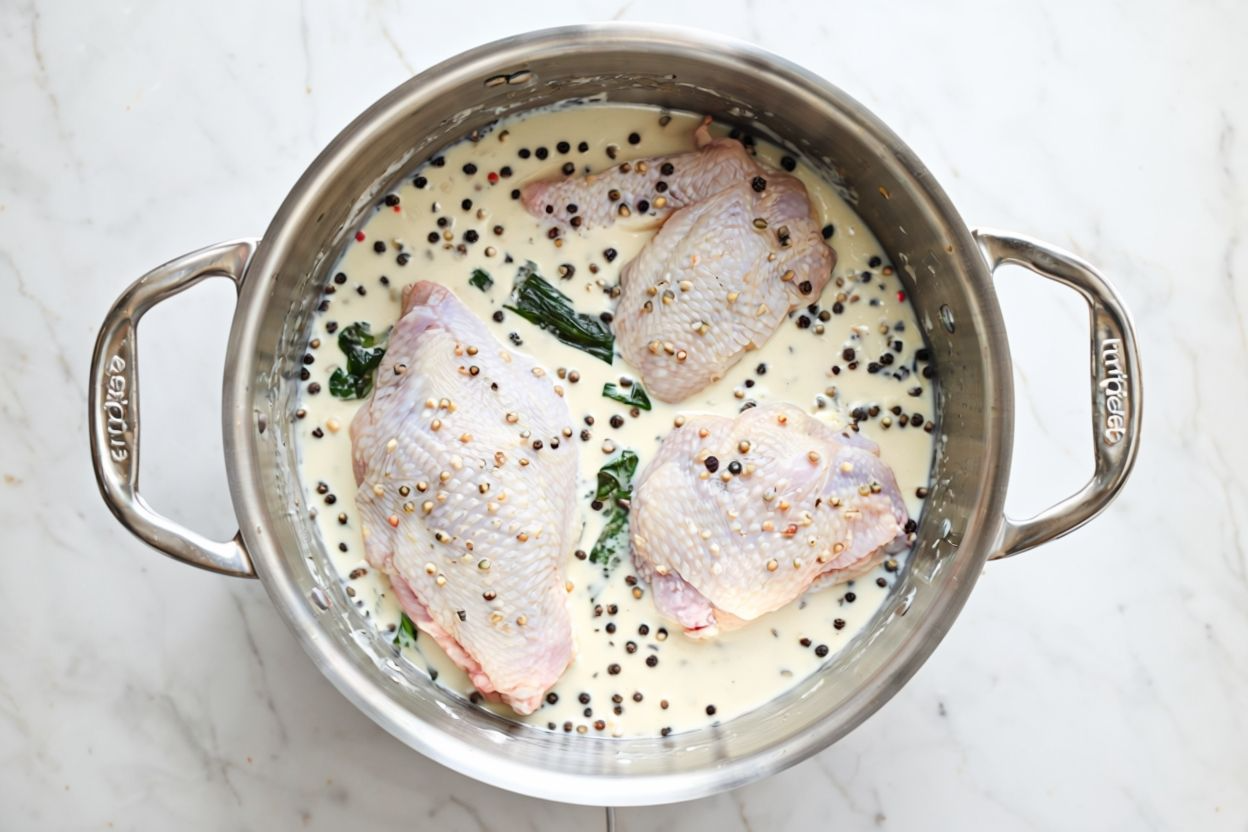
- Prepare the Brine: Combine buttermilk, salt, minced garlic, and herbs in a non-metallic bowl.
- Submerge the Chicken: Ensure the chicken is fully covered by the brine to maximize flavor absorption.
- Refrigerate: Cover the bowl and refrigerate for at least 12 hours—24 hours is even better for deeper flavor.
Quick Tip: Add a teaspoon of smoked paprika or a splash of hot sauce for a subtle kick.
3. Use the Right Tools
Using the right tools can make the process seamless:
- Non-Metallic Bowl: Buttermilk’s acidity can react with metal bowls, so stick to glass or plastic.
- Tongs: Handle the chicken easily without contaminating other surfaces.
- Paper Towels: Patting the chicken dry ensures better cooking results.
These tools not only simplify the brining process but also help maintain food safety.
4. Pat Dry for Perfectly Crispy Skin
After brining, it’s essential to pat the chicken dry. Here’s why:
- Promotes Even Cooking: Excess moisture can cause uneven browning.
- Enhances Crispiness: A dry surface allows the chicken to develop a golden, crispy exterior during cooking.
Take your time with this step to ensure your chicken is primed for perfection.
5. Add a Layer of Seasoning
While the buttermilk brine imparts incredible flavor, a final layer of seasoning before cooking enhances the experience. Sprinkle your chicken with:
- Smoked Paprika: Adds depth and a smoky aroma.
- Freshly Cracked Black Pepper: Provides a bold, peppery kick.
- Cayenne Pepper: For those who love a hint of heat.
This step ensures every bite bursts with well-rounded flavors.
6. Cook to Perfection
The beauty of buttermilk brined chicken is its versatility. Depending on your preference, choose one of these cooking methods:
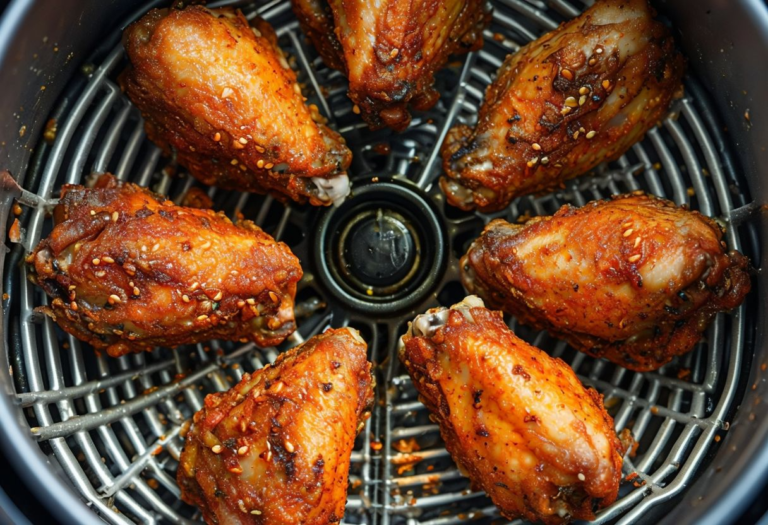
- Roasting: Preheat your oven to 400°F. Roast the chicken on a baking sheet for 35-40 minutes until the internal temperature reaches 165°F.
- Frying: Heat oil to 350°F and fry the chicken until golden brown, ensuring it’s cooked through.
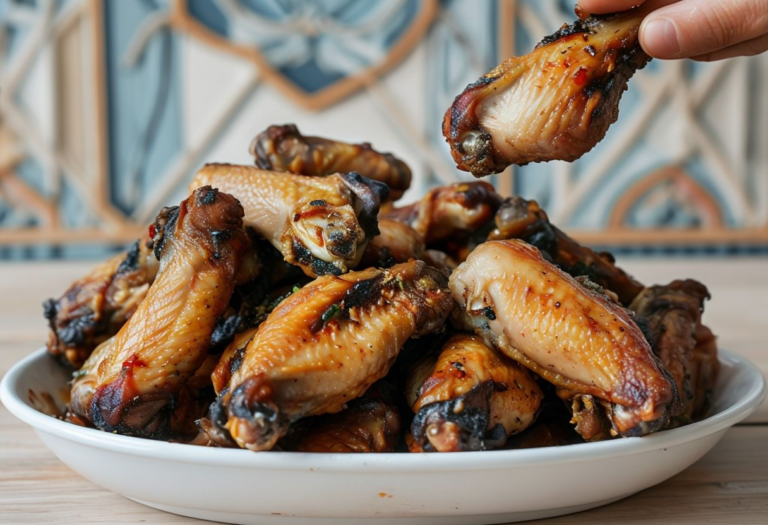
- Grilling: Cook over medium-high heat for 6-8 minutes per side, giving the chicken a smoky, charred finish.
Each method delivers unique flavors and textures, so feel free to experiment.
7. Rest Before Serving
Patience is key when it comes to serving your chicken. Let it rest for 5-10 minutes after cooking. This brief pause allows the juices to redistribute, ensuring each bite is as succulent as the last.
Frequently Asked Questions (FAQ)
1. How long should I brine chicken in buttermilk?
For the best results, brine your chicken for 12-24 hours. Avoid going beyond 48 hours to maintain the ideal texture.
2. Can I use store-bought buttermilk for brining?
Yes! Store-bought buttermilk works perfectly. If you don’t have any on hand, mix 1 cup of milk with 1 tablespoon of lemon juice or vinegar as a quick substitute.
3. Does buttermilk brining work for all types of chicken?
Absolutely. This method enhances the flavor and texture of all chicken cuts, from drumsticks to whole chickens.
4. Should I rinse the chicken after brining?
No. Simply pat the chicken dry with paper towels to remove excess brine. Rinsing can wash away some of the infused flavors.
5. Can I reuse the buttermilk brine?
For food safety reasons, it’s best to discard the brine after use, as it has come into contact with raw chicken.
Conclusion
Creating buttermilk brined chicken is an art that’s easier than it seems. By following these 7 flavorful tips, you’ll transform ordinary chicken into a masterpiece. Whether you roast, fry, or grill, the results will leave you and your guests impressed. So, roll up your sleeves and give it a try—your taste buds will thank you.


